How to Build a WordPress Website with Claude Code (Step by Step, No Page Builder)
How I design a website with four AI skills, convert it into an editable WordPress website with Claude Code, and host it live. No Elementor, no Divi, no paid plugins.

People say AI can’t build real client websites in WordPress. I’ve built a five page website, a ten page website and a 120 page website with AI and WordPress, so I don’t agree.
Designing a website with AI is the easy part. The hard part is getting it into WordPress so the client can edit everything on their own, without Elementor, Divi or any other page builder, and without paid plugins. This is exactly how I do it, step by step, with free plugins only. Everything I promised in the video is on this page.
In short: design the website with AI skills in Claude Code, turn the design into a WordPress block theme with the free AI WordPress Kit, let your client edit it in the normal WordPress editor, and put it live on your host. Here’s each step, with every prompt.
Everything from the video
- AI WordPress Kit (free): the skill, the parent theme and the blocks plugin. Get the kit.
- The 3 design skills I compared, with links. They’re in Step 1.
- Every prompt I used, in copy boxes below.
- Hosting steps for Hostinger (with the MCP) and for any other host. They’re in Step 4.

The website: a real client, live now
This is Rain City Refreshments, a real client website and live right now. It has six pages. My package includes 3 to 5 revisions, and the client didn’t ask for even one. Once the website was done, this is what he said:
“Wow. I reviewed on my phone and computer, it looks incredible you guys. Thank you so much.”
Step 1: design it with AI (same brief, four skills)
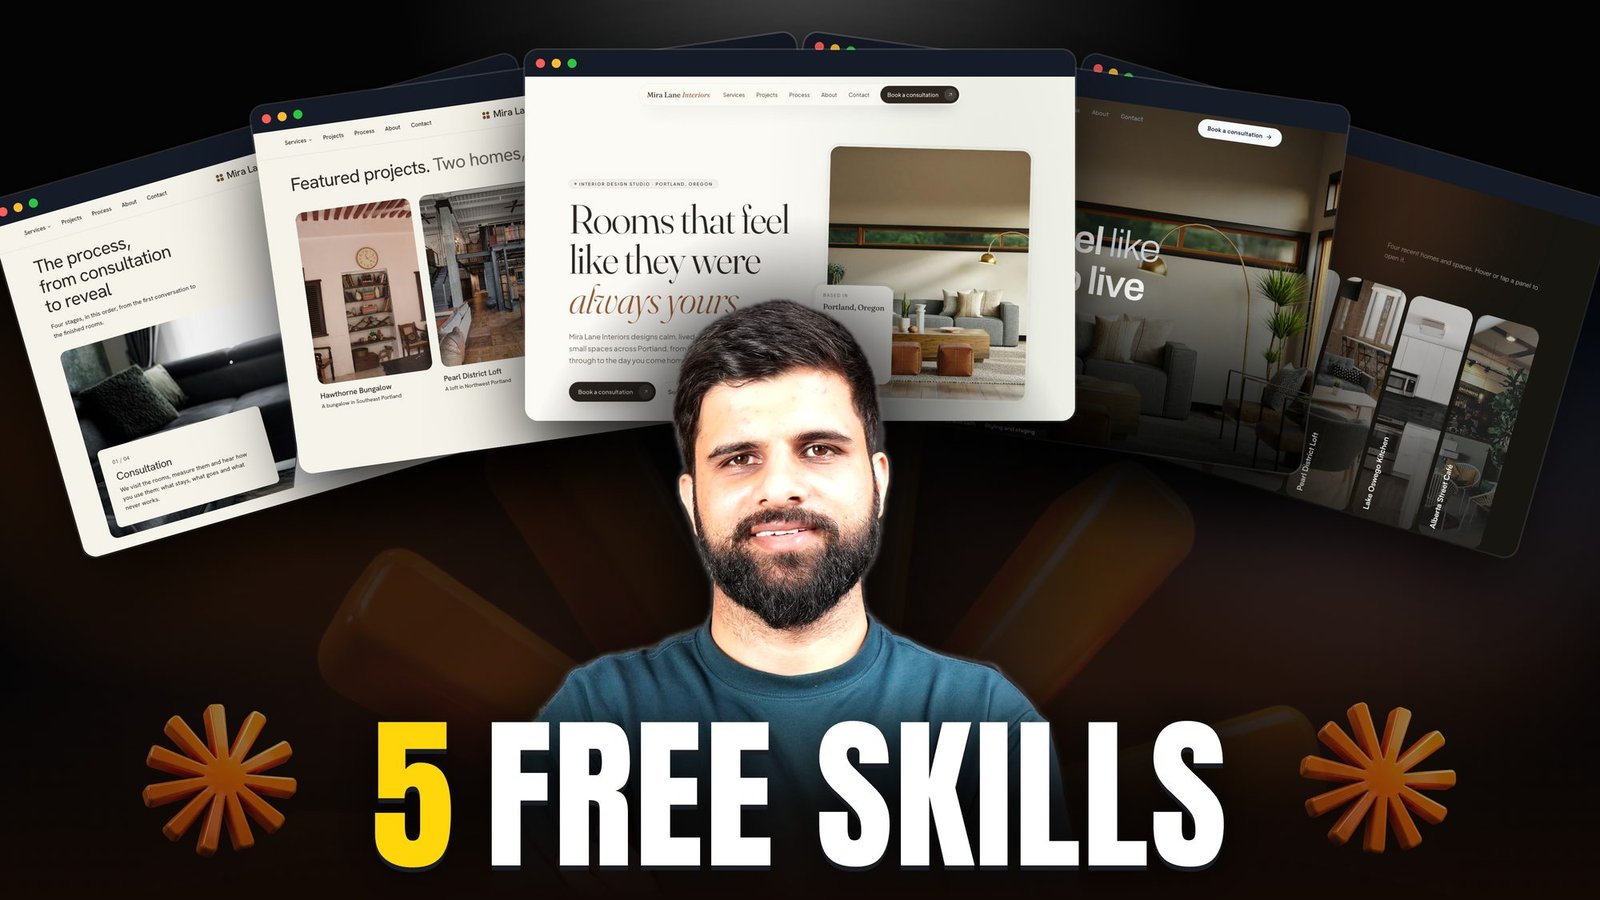
I gave the same brief to four different design skills in Claude Code, so I could see which one did the best job and take the best parts from each.
- V1: my custom skill. This is the one I use for my own client work. It isn’t public yet. In an upcoming video I’ll show you how I built it, so you can build your own.
- V2: high-end-visual-design. Get it on GitHub.
- V3: taste-skill v2. I didn’t use anything from this one. No section was right for this site. Get it on GitHub.
- V4: gpt-taste. Most of the final design came from this one. Get it on GitHub.
To install a skill, give Claude Code the link:
📋 Prompt 1: install a design skill (copy everything in the box below)
Install this skill for Claude Code so I can use it in every project: GITHUB LINKThen give each skill the same brief. Put the client’s logo, content and photos in one folder and open Claude Code in it:
📋 Prompt 2: the design brief (copy everything in the box below)
Use the SKILL NAME skill to design the homepage for BUSINESS NAME, a WHAT THEY DO in CITY.

The logo, content and photos are in this folder. Use the words from CONTENT FILE word for word, and only real photos from the folder.

It will become an editable WordPress website (Gutenberg blocks, no page builder), so every section must be something WordPress can build and the client can edit.

Save it as a static HTML/CSS/JS prototype in a folder called vSKILL NAME, so I can compare it with the other versions.
Combine the best parts into one design
After that it was just refining and combining sections. The hero is mostly from V4 (gpt-taste). I only made it a bit clearer so it’s easier to read. The “Who we serve” section came from gpt-taste too.
For “How it works” I had three versions side by side: gpt-taste, high-end-visual-design and my custom skill. I liked the timeline from my custom skill, so I took that one and asked Claude to refine it. Where there was too much empty space, I asked it to add an image. Say exactly which section you want from which version:
📋 Prompt 3: combine the versions (copy everything in the box below)
Make the final homepage by combining the versions:
- Hero: from V4. Keep it, but make the text easier to read.
- SECTION NAME: from VERSION.
- SECTION NAME: from VERSION.

Keep one look across the whole page: one set of fonts, colours and spacing. Change nothing else.
Homepage first, then the other pages
Get the homepage right first: the branding, the design, the fonts and the colours. Once that was final, I asked Claude to make the other pages in the same style, then did a few small refinements to finish all five pages.
📋 Prompt 4: the other pages (copy everything in the box below)
The homepage is final. Use exactly the same branding, fonts, colours, spacing and components to make the other pages: PAGE, PAGE, PAGE, PAGE. Use the words from CONTENT FILE for each page. Don't change the homepage.Step 2: turn the design into WordPress
Now the main part. You need four things:
What you need (all free)
- Claude Code, the desktop app or the terminal. The chat app can’t do this, because it can’t work on your computer.
- Local WP (localwp.com) to build the website on your computer first.
- Secure Custom Fields (WordPress.org). Claude installs it for you.
- My AI WordPress Kit: the skill, the parent theme and the blocks plugin. Get the kit.
Download the kit, then paste this into Claude Code. It installs the skill with one prompt:
📋 Prompt 5: install the kit (copy everything in the box below)
Unzip the AI WordPress Kit from Downloads, copy skill/ to ~/.claude/skills/block-theme-conversion, then install theme.zip and blocks.zip on my Local WP siteA skill is just a set of instructions Claude follows, here to turn any design into a WordPress website. You can change it and improve it however you like. Version 1.1 of the kit is already out, with the fixes from my latest client websites. Download the latest version.
Create the site in Local WP
In Local WP, click Add local site, give the website a name, and set your username and password. Keep the other defaults. Then copy the site domain (it looks like yoursite.local): you’ll need it in the next prompt.
The conversion prompt
📋 Prompt 6: convert the design into WordPress (copy everything in the box below)
Use the block-theme-conversion skill from my AI WordPress Kit to convert the design in PROTOTYPE FOLDER into an editable WordPress website on my Local site: SITE.local

Every page must be editable by the client in the normal WordPress editor: no page builder. Keep it free: Secure Custom Fields and Fluent Forms, no paid plugins.

Follow the skill exactly. If anything isn't clear, ask me before you build.
On its own, Claude installed:
- Arenex Digital Blocks: my library of blocks and sections that WordPress doesn’t have, which I keep adding to.
- Fluent Forms for the contact form, and Secure Custom Fields, because we’re keeping this website free.
On my client websites I normally use ACF PRO. I have the developer licence and pay for it every year, and it makes my work easier. But you don’t need it: Secure Custom Fields runs everything in the kit, and you can use this workflow on any type of website until you grow.
Parent theme and child theme
The Arenex Digital Theme is the base theme, and it’s free in the kit. You never edit it. Every new website gets its own child theme, which holds that website’s sections, styles, branding and anything else unique to it.
How long does it take? This one took about 1 hour 45 minutes. It looked stuck, but most of the work was already done, so I asked whether it was stuck or finished. Normally it takes 30 to 60 minutes, depending on how big the website is and what it has to convert.
Step 3: edit everything in WordPress (no AI needed)
Log in to the website and you’ll see the plugins it used. Then look at what the client gets:
- Site Settings. The phone number, opening hours and other details are in one place. Change them once and they update across the whole website.
- Edit page. The full page opens in the editor. Click an image to replace it, click any text to change it, and change links the same way. Some images have a height setting too: on this one, 460 fitted well.
- Add more items. Duplicate an item to add another one. Lists like service areas use custom fields: add a new location, save, and it appears on the page. Projects and galleries work the same way.
- Add sections. Drag in a block: service cards, process steps, a quote form, text and image split, testimonials. Add your reviews and they appear on the page. You can change the background colour as well.
So you don’t need AI for simple changes. Your client can do all of this on their own.
When something doesn’t work, ask Claude
On camera, I set a section’s background to white and nothing changed. The block’s CSS wasn’t letting the new colour override the old one. I told Claude, it checked the block, fixed it, and the colour started changing. Fix it in the block, not just on one page, so every future website gets the fix:
📋 Prompt 7: fix a block (copy everything in the box below)
On PAGE, in the SECTION NAME section, I changed SETTING to VALUE in the editor but nothing changes on the page. Find out why and fix it in the block itself, not just on this page, so it works on every website. Then add the lesson to my block-theme-conversion skill.That last line is how the skill gets better. After every website, tell Claude what went wrong and ask it to add the lesson to the skill. That’s how mine got good.
Step 4: host it live
Once everything works on Local, ask Claude for the files:
📋 Prompt 8: get the files to go live (copy everything in the box below)
The conversion is ready to go live. Give me the zip files I need to upload: the parent theme, the child theme and the Arenex Digital Blocks plugin, and tell me which plugins to install from WordPress.org.You get three zip files: the Arenex Digital Theme, the child theme, and Arenex Digital Blocks.
On Hostinger: let Claude do it
I use Hostinger. Their MCP server lets Claude Code upload the website itself, exactly the way it built it on Local, so you don’t have to do anything.
Hostinger: 10% off with my code
- Use this link and enter the code NAIKOO10 at checkout for an extra 10% off.
- Pick the server closest to your client’s customers.
In Hostinger: Websites → Create website → WordPress. Use a temporary domain, or the real domain if it’s already live. Then connect Claude Code to your Hostinger account: in hPanel, search for API, create a new token, and run this in your terminal:
📋 Command: connect the Hostinger MCP (copy everything in the box below)
claude mcp add hostinger -e HOSTINGER_API_TOKEN=YOUR_TOKEN -- npx -y @hostinger/mcpRestart Claude Code, then:
📋 Prompt 9: go live on Hostinger (copy everything in the box below)
WordPress is installed on DOMAIN on Hostinger. Use the Hostinger tools to install the parent theme, the child theme and the plugins from my Local site SITE.local, exactly as they are there. Then tell me what's left for me to click in wp-admin.

Don't change DNS, billing or anything outside this website without asking me first.
Once the website is live, delete the API token in hPanel: it gives full access to your account.
On any other host: do it by hand
Create a new WordPress site on your host (a temporary domain is fine), then in wp-admin:
- Plugins → Add New: install and activate Fluent Forms.
- Install and activate Secure Custom Fields.
- Plugins → Add New → Upload Plugin: upload Arenex Digital Blocks and activate it.
- Appearance → Themes → Add New → Upload Theme: upload the Arenex Digital Theme. Don’t activate it.
- Upload your child theme the same way and activate it.
- Tools → [your site] Setup: tick Overwrite pages and click Run setup. Every website built with the kit has this.
It shows all good, and when you visit the website it’s live, exactly as it was on Local. Then do your SEO with Rank Math or Yoast, whichever you prefer. I deleted the copy I made in the video, because the real website is already live for my client. It was only there to show you how hosting works.
Not sure which host to use? I compare the ones I use in the best WordPress hosting.
Make the skill your own
My main skill does more than this one: it does the SEO on the website and makes the images itself with Magnific. You can add things like that to yours. That’s why I shared it publicly: so anyone can take it and build it their own way.
So this is a full client website in WordPress: no Elementor, no page builder and no paid plugins.
Get the AI WordPress Kit
The skill, the parent theme and the blocks plugin I used in this video. Free to use on your own websites and your clients’ websites.
Questions people ask
Can Claude Code build a WordPress website?
Yes. Claude Code works directly on your computer, so it can design the website, build it as a WordPress theme and set up every page on your Local site. The Claude chat app can’t, because it can’t work on your files.
Is it really free?
The kit, the theme, the plugins and Local WP are all free. Claude Code itself needs a paid Claude plan, and you’ll need hosting and a domain to put the website live.
Do I need to know how to code?
No. You write prompts and check the result. Knowing WordPress basics, like plugins and themes, helps you spot when something looks wrong.
Can I use ChatGPT or Codex instead of Claude Code?
Yes. The skill is a set of instructions any AI coding tool can follow. I use Claude Code because it works best for me on client websites.
Is this better than Elementor?
For most client websites, I think so. The website is lighter, there’s no page builder to pay for or update, and the client can still add and edit sections. Some clients want Elementor because they know it, and that’s fine too.
Can I build an online store the same way?
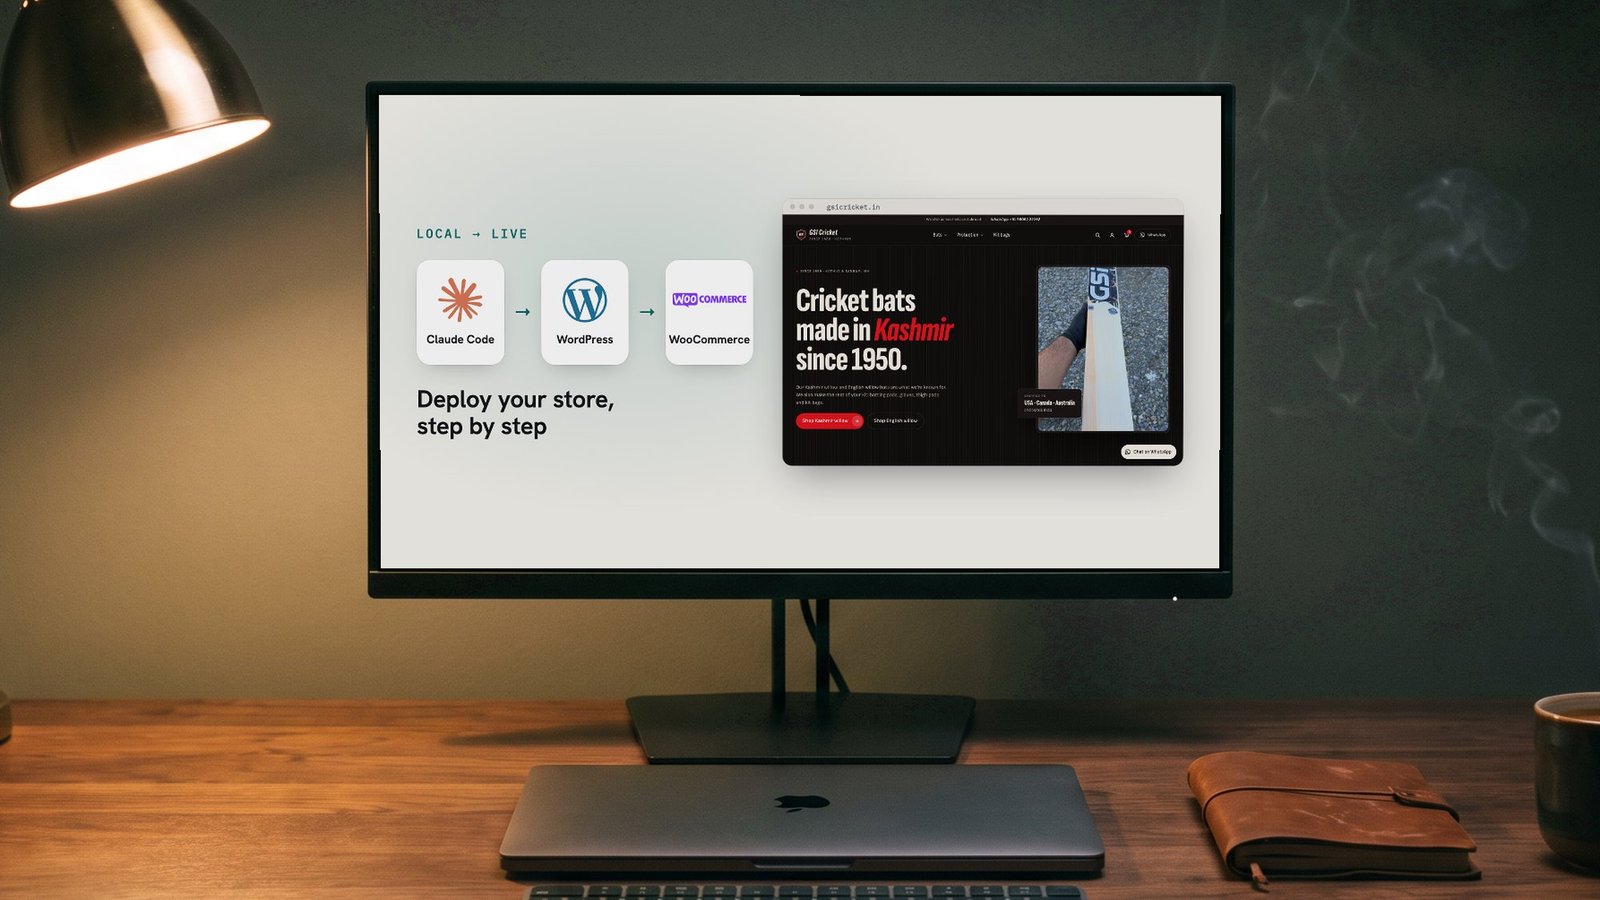
Yes. The same kit built a WooCommerce shop with 26 products. See how to make an e-commerce website with Claude Code and WordPress.
Coming next
In the next video I’ll show you all the skills I use to build my WordPress websites. After that, I’ll show you how to build your own custom skill. Subscribe on YouTube so you don’t miss them.
Want me to build it for you instead? Start a project.
Affiliate disclosure: the Hostinger link above is an affiliate link. If you buy through it, I earn a small commission at no extra cost to you. Questions? Comment on the video on my YouTube channel.